Running ROVIOLI in VIO mode: calibartion files, rostopics, bag/topic mode, visualization
In this tutorial, we use ROVIOLI to build a map in the visual-inertial odometry (VIO) mode, i.e., without using any localization. Two modes exists for running ROVIOLI in VIO mode:
Requirements
To run a ROVIOLI, the following calibration files are required:
Camera calibration, example file for the Euroc datasets
IMU parameters maplab, example file for the Euroc datasets
IMU parameters Rovio, example file for the Euroc datasets
Rovio calibration file
rovio_default_config.info, example file
See [[Sensor Calibration Format]] for more information on these files. The calibration files should be located in a directory pointed by $ROVIO_CONFIG_DIR environment variable, the default is maplab_ws/src/maplab/applications/rovioli/share.
In addition, a bag file containing the dataset (see [[Sample Datasets]]) or a live source needs to be available.
Building a map from a rosbag
For this tutorial, we build a map from one of the Euroc datasets. Go to the Euroc dataset website and download the bag file for Machine Hall 01.
Use the following script:
#!/usr/bin/env bash
LOCALIZATION_MAP_OUTPUT=$1
ROSBAG=$2
NCAMERA_CALIBRATION="$ROVIO_CONFIG_DIR/ncamera-euroc.yaml"
IMU_PARAMETERS_MAPLAB="$ROVIO_CONFIG_DIR/imu-adis16488.yaml"
IMU_PARAMETERS_ROVIO="$ROVIO_CONFIG_DIR/imu-sigmas-rovio.yaml"
REST=$@

rosrun rovioli rovioli \
  --alsologtostderr=1 \
  --v=2 \
  --ncamera_calibration=$NCAMERA_CALIBRATION  \
  --imu_parameters_maplab=$IMU_PARAMETERS_MAPLAB \
  --imu_parameters_rovio=$IMU_PARAMETERS_ROVIO \
  --datasource_type="rosbag" \
  --save_map_folder="$LOCALIZATION_MAP_OUTPUT" \
  --optimize_map_to_localization_map=false \
  --map_builder_save_image_as_resources=false \
  --datasource_rosbag=$ROSBAG $REST
Note:
# Use this flag to remove (or change) the suffix (default: image_raw) from the camera topic.
--vio_camera_topic_suffix=""
Now, start a roscore and run the dataset:
# Make sure that your maplab workspace is sourced!
source ~/maplab_ws/devel/setup.bash
roscore&
rosrun rovioli tutorial_euroc save_folder MH_01_easy.bag
where save_folder is the name of the folder where the generated VI map will be saved.
After ROVIOLI is finished and the map is saved, save_folder should look like this:
$ tree save_folder
save_folder
├── metadata
├── resource_info
├── resources
└── vi_map
    ├── edges
    ├── landmark_index
    ├── missions
    ├── other_fields
    ├── vertices0
    ├── vertices1
    ├── ...
Building a map from a rostopic
Use the following script:
#!/usr/bin/env bash
LOCALIZATION_MAP_OUTPUT=$1
NCAMERA_CALIBRATION="$ROVIO_CONFIG_DIR/ncamera-euroc.yaml"
IMU_PARAMETERS_MAPLAB="$ROVIO_CONFIG_DIR/imu-adis16488.yaml"
IMU_PARAMETERS_ROVIO="$ROVIO_CONFIG_DIR/imu-sigmas-rovio.yaml"
REST=$@

rosrun rovioli rovioli \
  --alsologtostderr=1 \
  --v=2 \
  --ncamera_calibration=$NCAMERA_CALIBRATION  \
  --imu_parameters_maplab=$IMU_PARAMETERS_MAPLAB \
  --imu_parameters_rovio=$IMU_PARAMETERS_ROVIO \
  --datasource_type="rostopic" \
  --save_map_folder="$LOCALIZATION_MAP_OUTPUT" \
  --map_builder_save_image_as_resources=false \
  --optimize_map_to_localization_map=false $REST
Note:
# Use this flag to remove (or change) the suffix (default: image_raw) from the camera topic.
--vio_camera_topic_suffix=""
Now, using a Euroc dataset as a live source, call:
# Make sure that your maplab workspace is sourced!
source ~/maplab_ws/devel/setup.bash
roscore&
rosrun rovioli tutorial_euroc_live save_folder
Then, in a separate terminal, start your data source:
rosbag play MH_01_easy.bag # or start your sensor node.
Output
By default the pose estimates are published on the following rostopics:
/maplab_rovio/T_G_I/maplab_rovio/T_G_MIdentity in the case of no localization./maplab_rovio/T_M_I/maplab_rovio/bias_acc/maplab_rovio/bias_gyro/maplab_rovio/velocity_I
Visualization
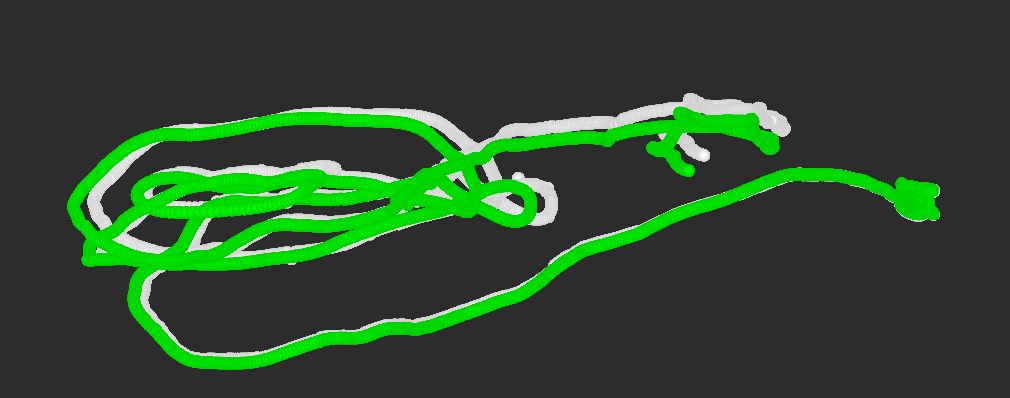
Use this RViz config to visualize the most important ROVIOLI topics.
Here is a list of the most important flags to enable/disable visualization of certain components of maplab/ROVIOLI:
Visualization of ROVIO features/state

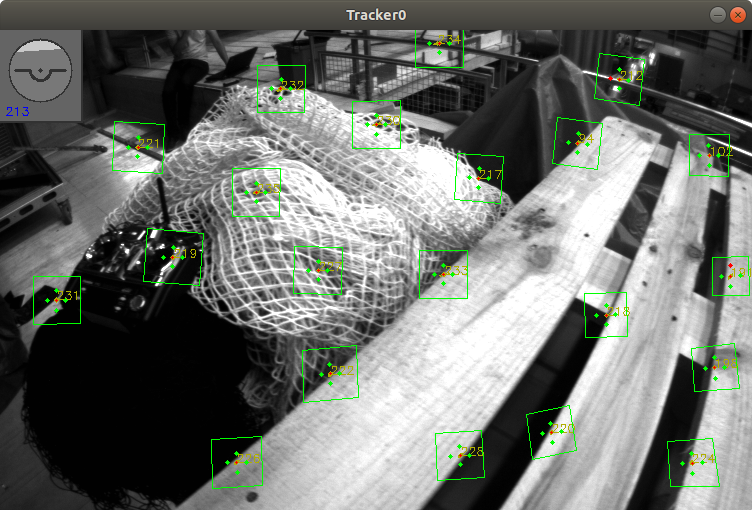
This OpenCV window visualizes the state and the features computed by ROVIO. These features are NOT used to build the VIMap or localization map later, but exist only within ROVIO to perform local state estimation.
Enable/disable using the following flag:
--rovio_enable_frame_visualization
Visualization of Maplab feature tracking module
The maplab feature tracking module computes and matches Brisk or FREAK features, which are used by the map builder to construct the pose graph/VIMap. The results of the keypoint detection and feature matching can be published as ROS image topics.
Enable/disable using the following flag:
--feature_tracker_visualize_keypoint_detections
--feature_tracker_visualize_feature_tracks
--feature_tracker_visualize_keypoint_matches
--feature_tracker_visualize_keypoints
--feature_tracker_visualize_keypoints_individual_frames
Topics:
# For each frame N a separate topic is used:
/tracking/keypoints_raw_cam{N}
/tracking/keypoint_matches_camera_{N}
/tracking/keypoint_outlier_matches_camera_{N}
Visualization of T_M_I and T_G_I

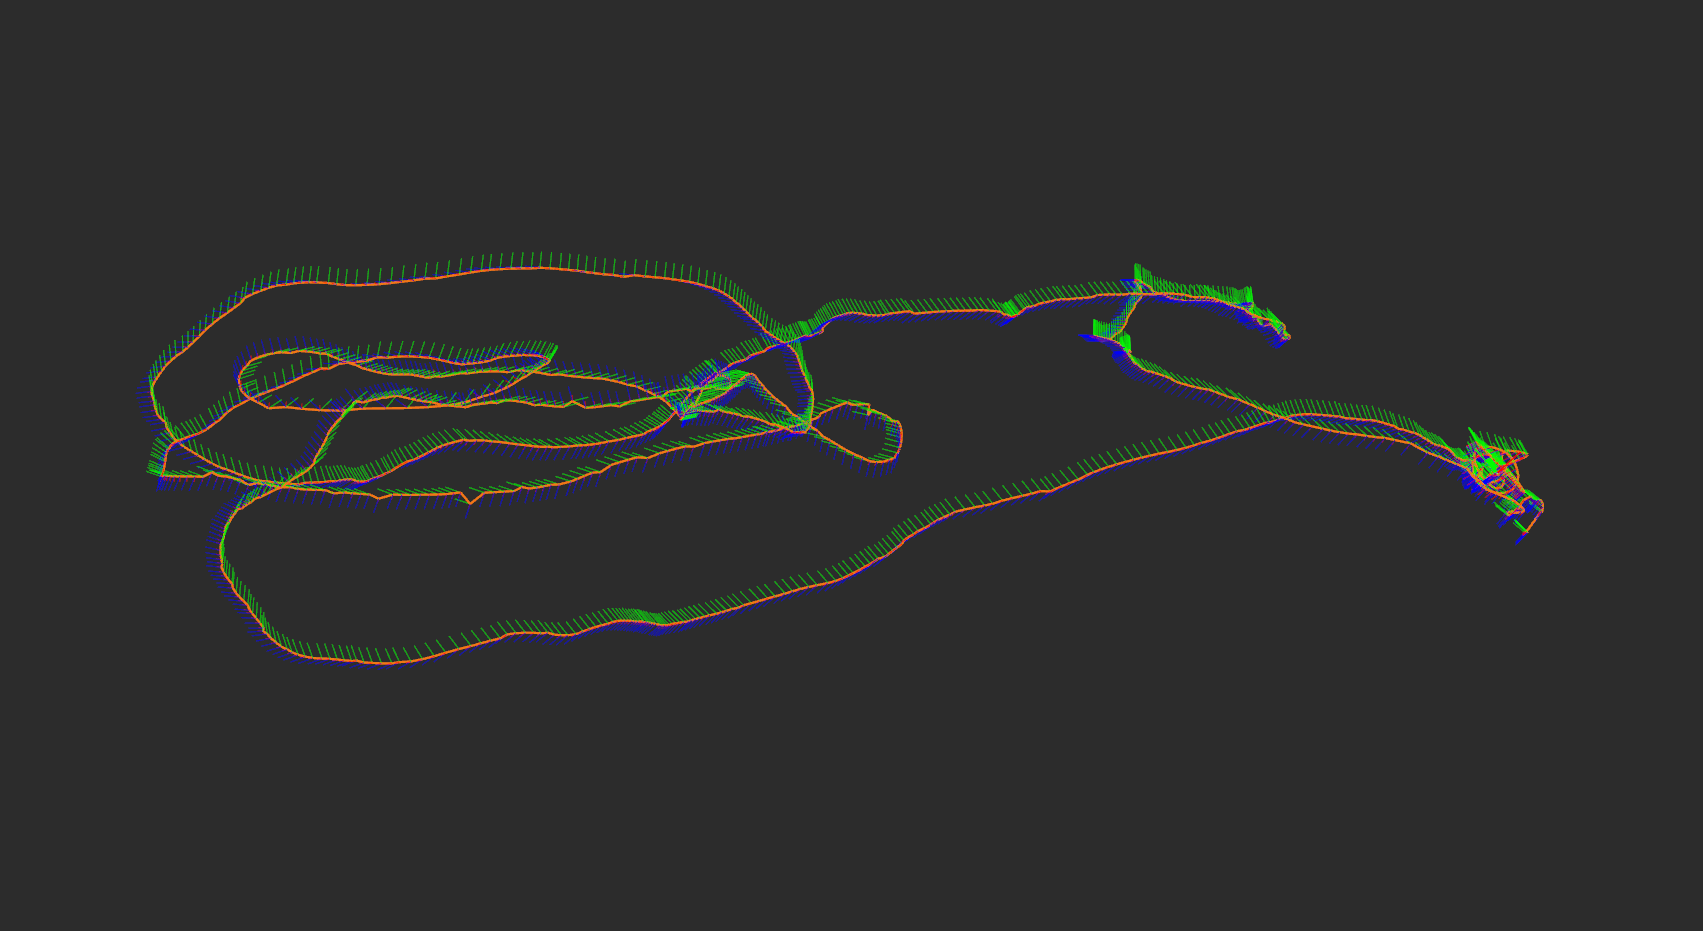
These markers visualize the pose estimates for each frame (odometry = T_M_I, localized = T_G_I).
Enable/disable using the following flag:
--publish_debug_markers
Topics:
/debug_T_G_I
/debug_T_M_I
Visualization of VIMap and Localization


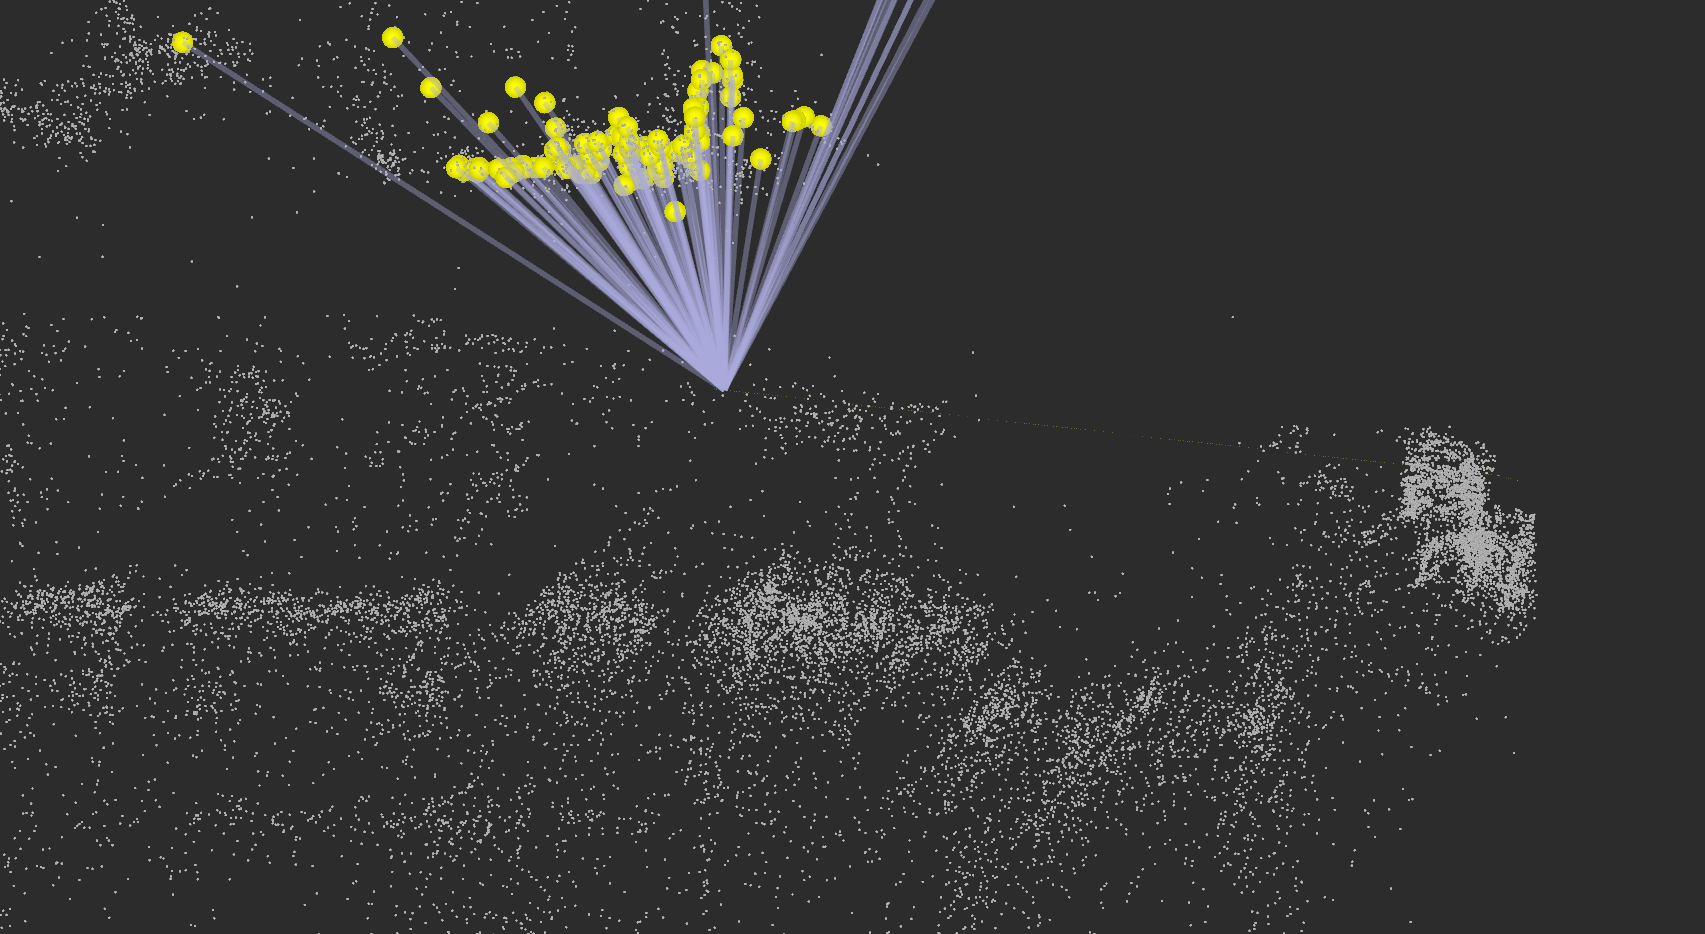
These markers visualize the VIMap that is being built by ROVIOLI as well as the landmark correspondences found by the localization module.
Enable/disable using the following flag:
--rovioli_visualize_map
Topics:
# Pose graph
/vi_map_baseframe
/vi_map_landmarks
/vi_map_vertices
/vi_map_edges/viwls

# Localizer results
/landmark_pairs
/loop_closures
/loopclosure_database
/loopclosure_inliers